Model Fabrication Development
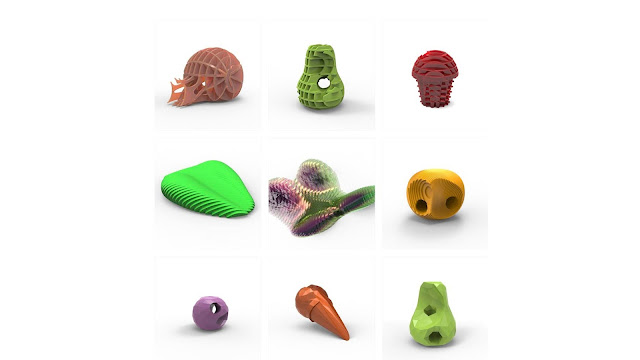
After purchasing the acrylic sheets, we began preparing our files for laser cutting using 123D Make. Every form is separate, made using Fusion360 and then imported into 123D Make to apply 3 fabrication strategies: stacking, waffling or folding.
Forms that we chose to stack/section were prepared for laser cutting. The photo above shows the result of the laser cut acrylic pieces + a 3D printed pear with folding strategy applied to it.
The translucent acrylic sheets created new colours for us to work with when we stacked them together.
These were our earlier models, where we explored how to create the "journey" solely through 3D printing (because the laser cutters were acting up).
A lasercut apple at 1:25 which we've begun gluing together.
We had a go at waffling using lasercut pieces, but the forms were too distorted and there were too many errors in the 123D make laser cut files; we didn't want to risk wasting anymore acrylic sheets on unused waffled pieces so as a result we decided to 3D print all the waffled forms.
A progress picture of our 1:50 stacked models coming along + a 1:25 pear + 1:50 3D printed cake!
This is an apple in progress (we're still gluing + waiting for it to dry). We used two colours but the translucent acrylic has created a gradient of colours inbetween.
Subscribe to:
Posts (Atom)
About
We are 4 students partaking in an 8 week winter intensive course which involves designing a playground within the Powerhouse Museum, as part of UNSW's BEIL0014: Digital Making.
Group 10 consists of:
Alex, Alyssa, Eugene & Tany.
Our blog features inspiration, progress posts and weekly submissions.
.png)


